Winter is nearly behind us and spring is tantalizingly close. Despite our infamous rainy weather, we Portlanders can’t wait to get outside for a new season of adventures. Whether you’re hiking the hill or strolling the neighborhood, don’t forget to bring a (homemade) snack or two to keep those hunger pangs at bay. Otherwise, you might find yourself curled up in a ball out in the middle of nowhere—or in someone’s overgrown lawn, and that would be awkward.
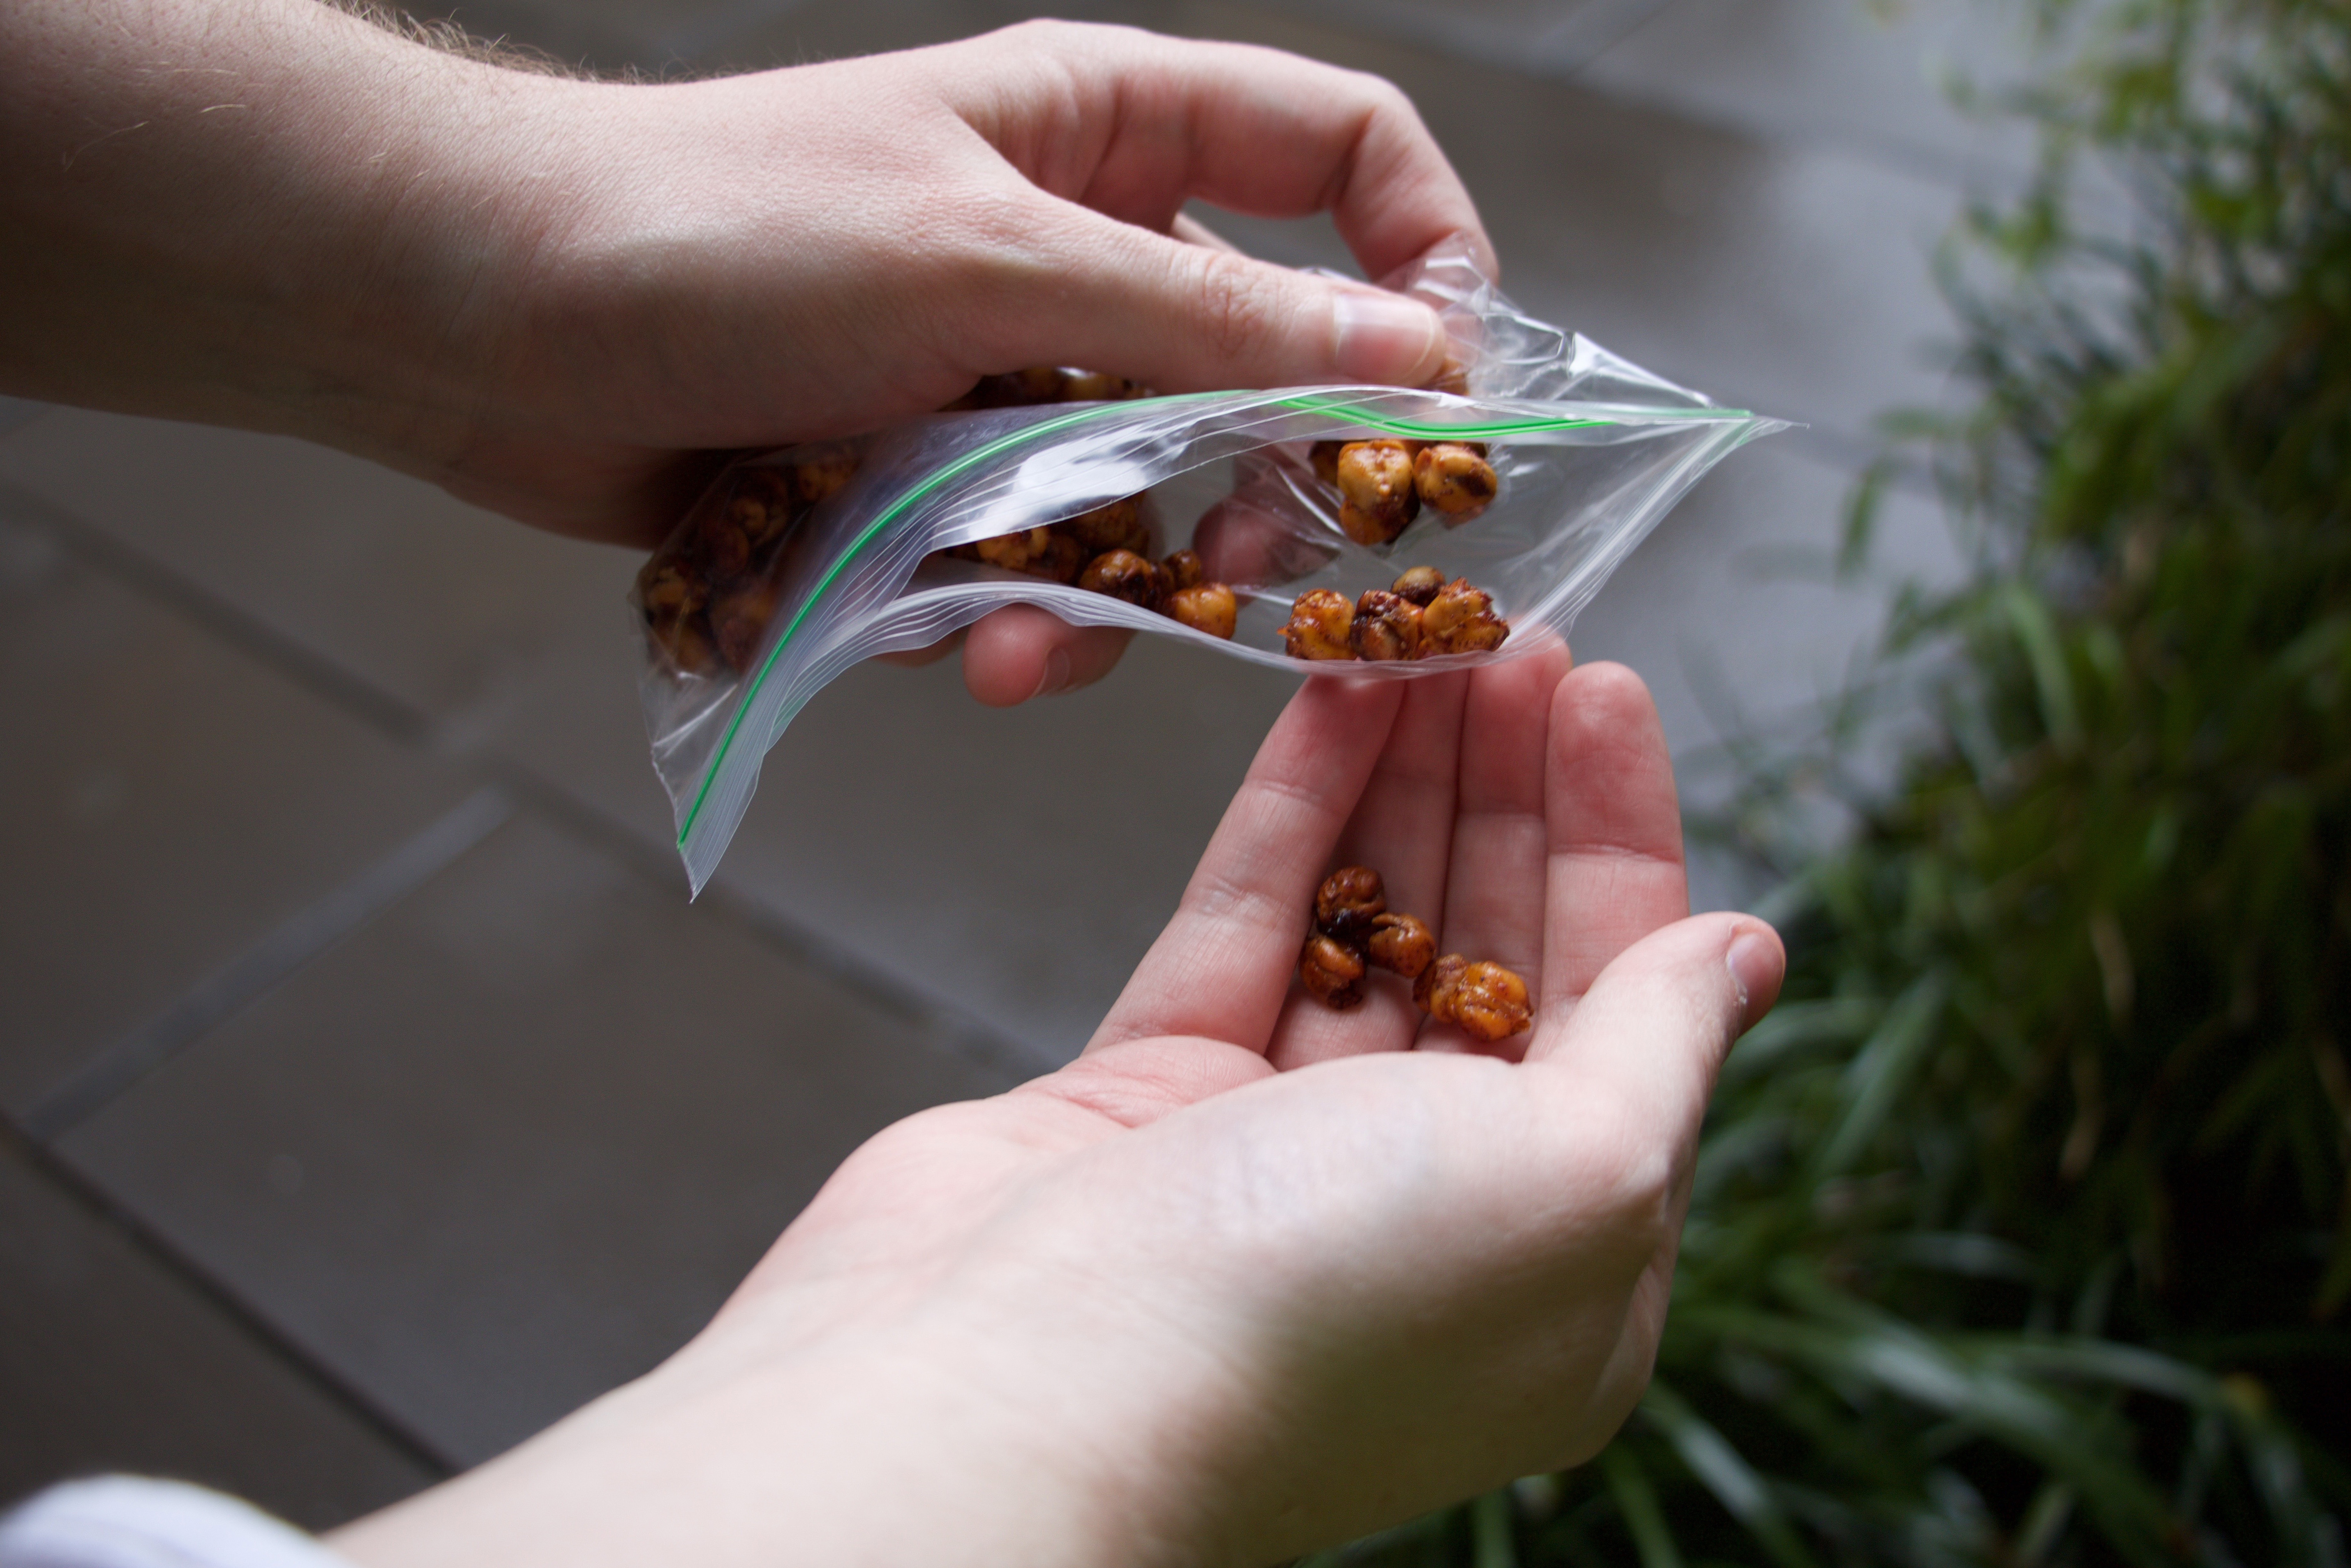
Oven Rosted Chickpeas
If you love hummus and falafel, then this roasted chickpea snack is up your alley. This recipe makes 8 servings and is loaded with fiber, which will keep you feeling full longer.
3 cups (two 15-ounce cans) of chickpeas, thoroughly rinsed.
1 tablespoon of olive oil
2 tablespoons of honey
1/4 teaspoon of sea salt
1 teaspoon of cinnamon
1/4 teaspoon of nutmeg
1 baking sheet
Parchment paper or silicone baking mat
Large mixing bowl
Colander
- Preheat your oven to 375 degrees F.
- Drain and rinse the chickpeas in a colander under cold water. Place the chickpeas on a towel or a sheet of paper towels to dry.
- Line a sheet pan with parchment paper or use a silicone cooking mat. Spread the dry chickpeas on the lined baking sheet and place in the preheated oven. Cook for 45 minutes.
- In a large mixing bowl mix the oil, salt, honey, cinnamon and nutmeg.
- Once the cooking time is up, pour the still-hot chickpeas in the mixing bowl with the seasoning mixture and toss together.
- For a more caramelized texture, place the seasoned chickpeas back on the baking sheet and put back in the oven for 10 minutes.
Alternatively: If you want a more savory snack, replace the honey, cinnamon and nutmeg with 1 teaspoon of cumin, 1 teaspoon of chili powder and 1/2 teaspoon of cayenne powder. Increase the salt by a 1/4 teaspoon and increase the oil by 1 tablespoon.
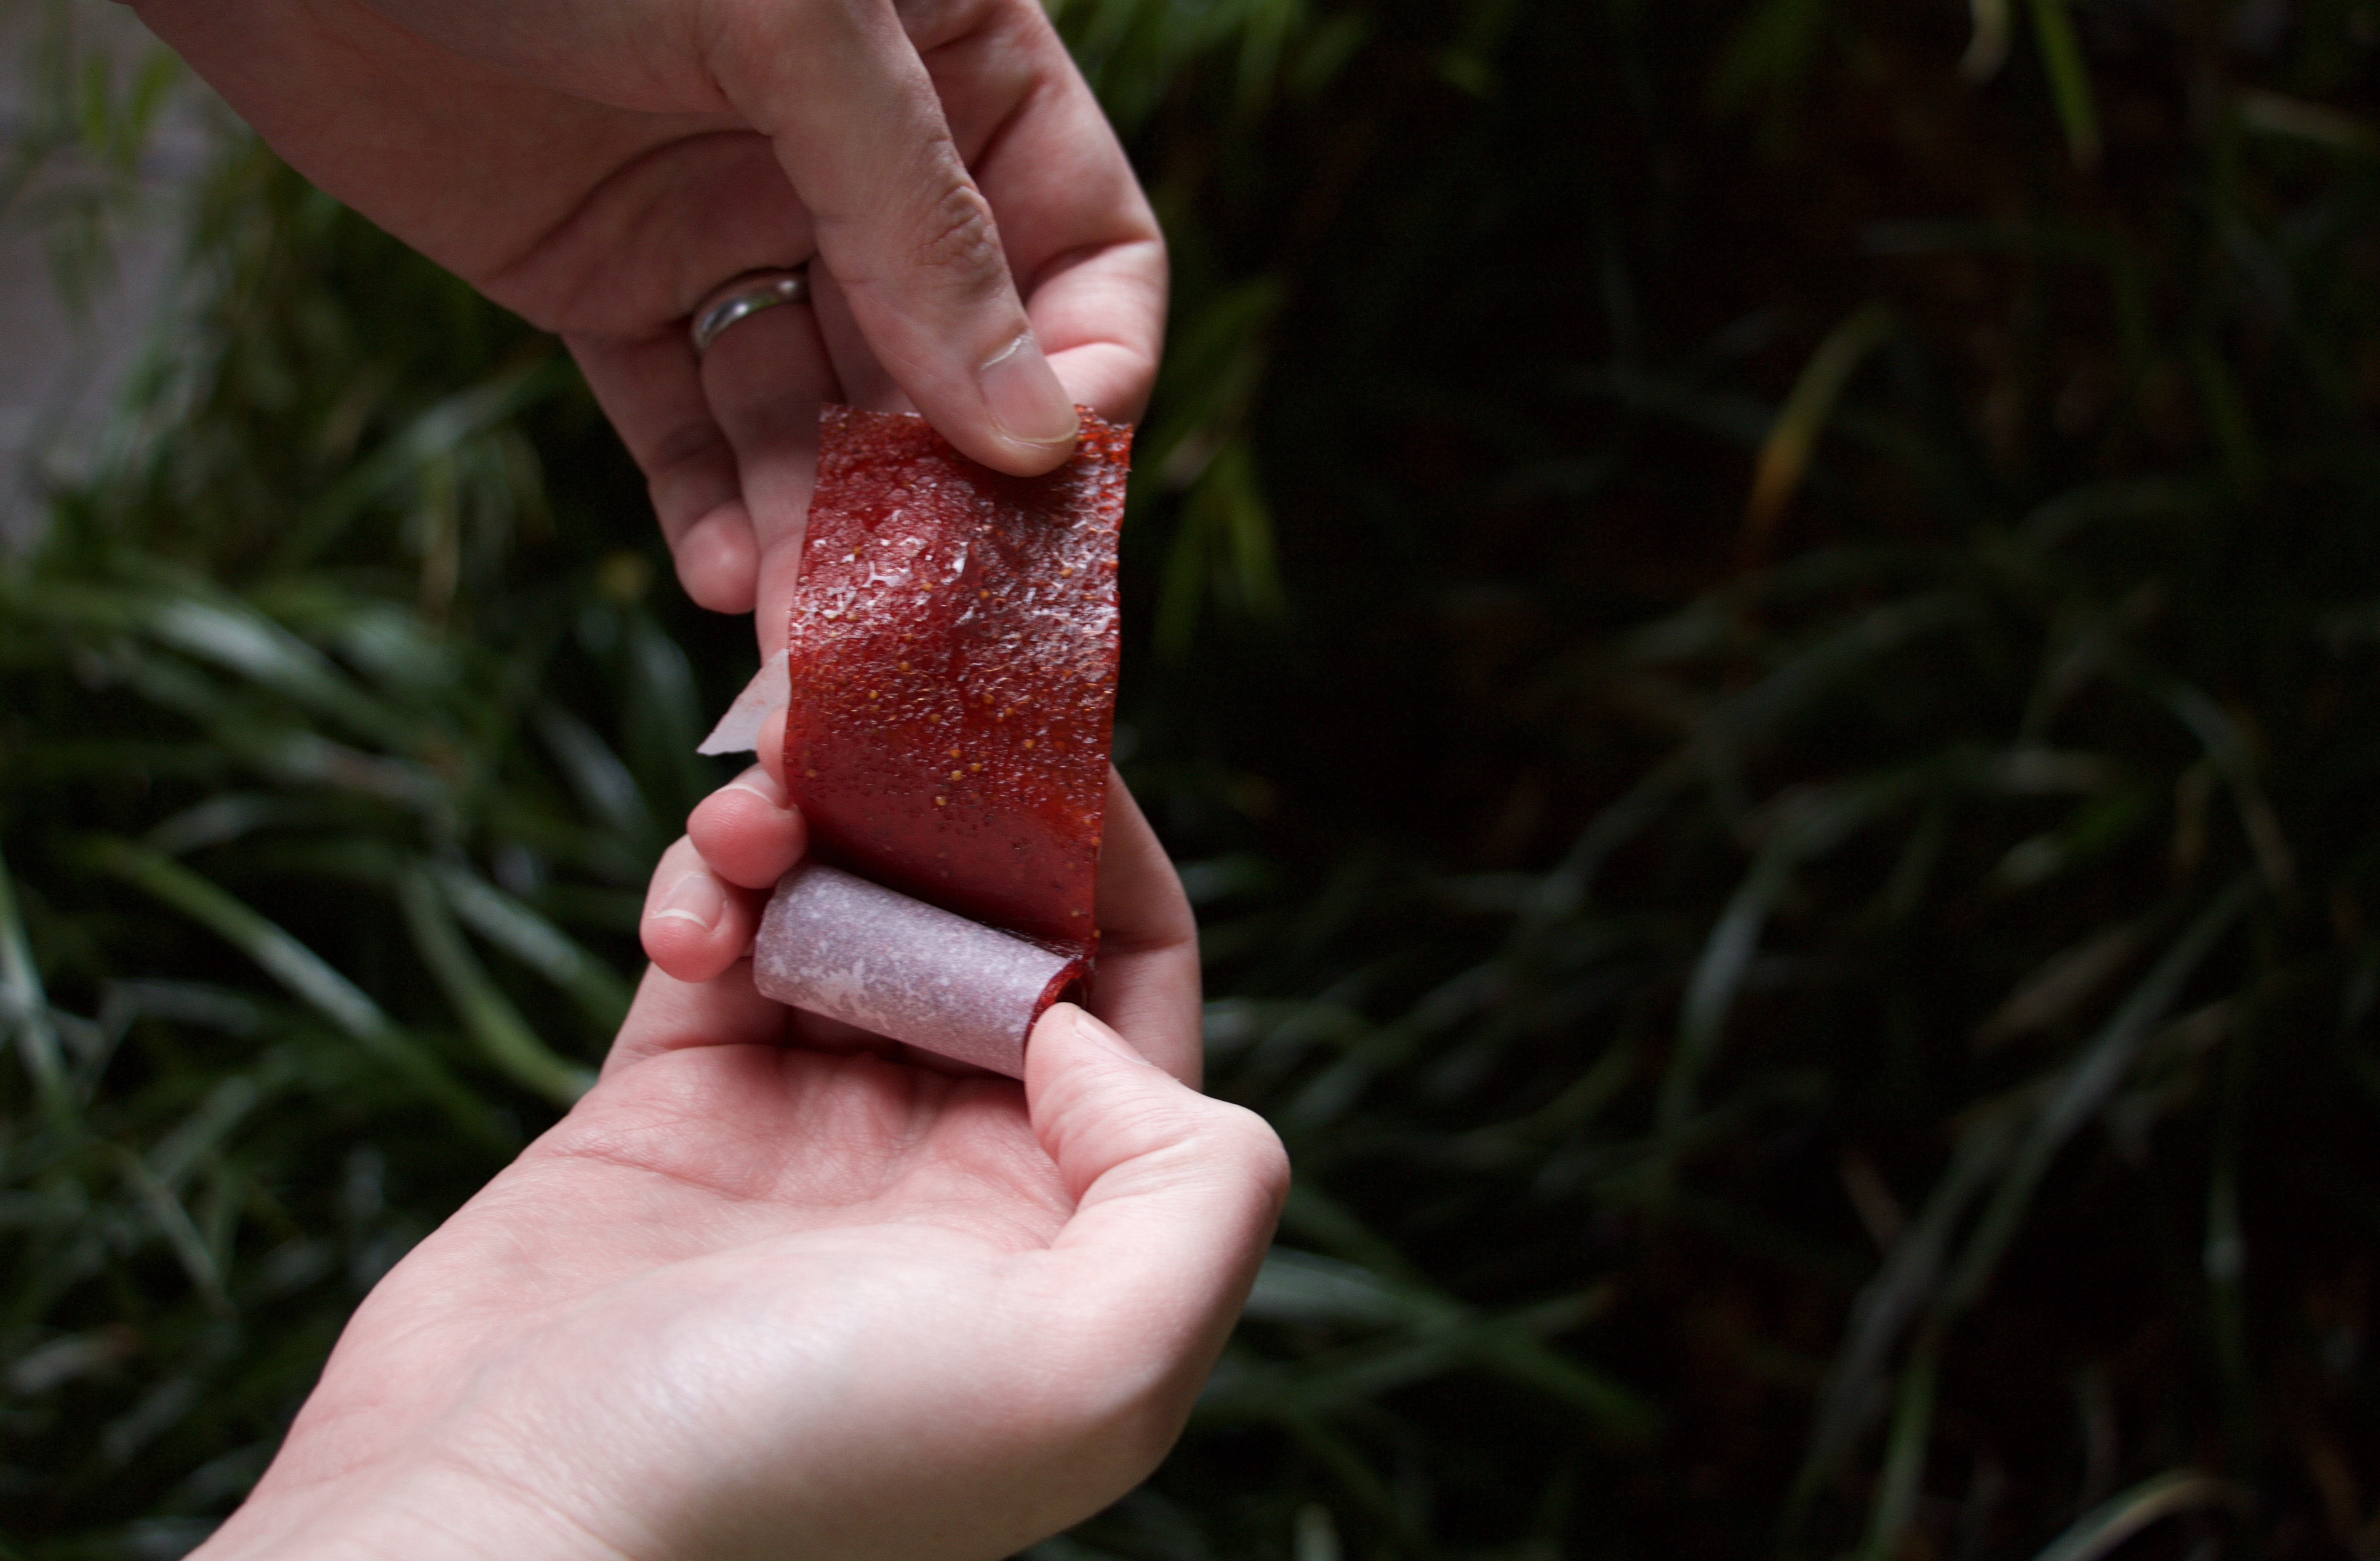
Strawberry-Jalapeño Fruit Leather
This nostalgic snack is given a grown-up twist by adding the spiciness of jalapeño (or habanero if you want it really caliente). The only downside to this snack is its 5–7 hour bake time. But, if you’re patient, you will be rewarded.
1 1/2 lbs of strawberries, top leaves removed
1 jalapeño or habanero, deseeded
1/3 cup of sugar
Pinch of salt
2 tablespoons of lemon juice
Blender
Baking sheet
Silicone baking mat
Fine-mesh strainer
Medium-size sauce pan
Heatproof container with a spout
Parchment paper
Kitchen shears
- Preheat oven to 170 degrees F and line a baking sheet with the silicone baking mat and set aside.
- In a blender, blend together strawberry, sugar, salt and jalapeño until a fine puree forms. This should take about one minute.
- With a fine-mesh strainer over a medium-size saucepan pour the puree through the strainer. Using a rubber spatula, scrape against the surface of the strainer to push the puree into the pan, leaving only the seeds in the strainer.
- Heat the puree over medium heat and stir occasionally, scraping the sides and bottom of the pan, until the puree starts to bubble on the side. Reduce the heat to low and simmer for 15–20 minutes, stirring occasionally until the puree reduces and thickens. Then remove the pan from the heat and pour in the lemon juice and stir. Transfer the reduced puree to a heatproof container with a spout.
- Taking the container with the reduced puree, slowly pour the mixture onto the baking sheet with the silicone mat, tracing the border of the mat. If your silicone mat doesn’t have a border, start an inch away from the wall of the baking sheet. Fill in the rest of the rectangle with puree. Using a rubber spatula, spread the mixture evenly.
- Place the baking sheet in the oven and bake for 5–7 hours, or until the top of the fruit leather is sticky. Tap it with your finger—if your finger doesn’t leave an indentation, then it’s ready to come out of the oven. Let cool completely.
- Transfer the fruit leather to a piece of parchment paper the same length and width as the baking sheet. Using kitchen shears, cut the fruit leather and parchment paper in 1-inch strips and roll. This snack will last for 3 days at room temperature or 3 weeks if frozen.
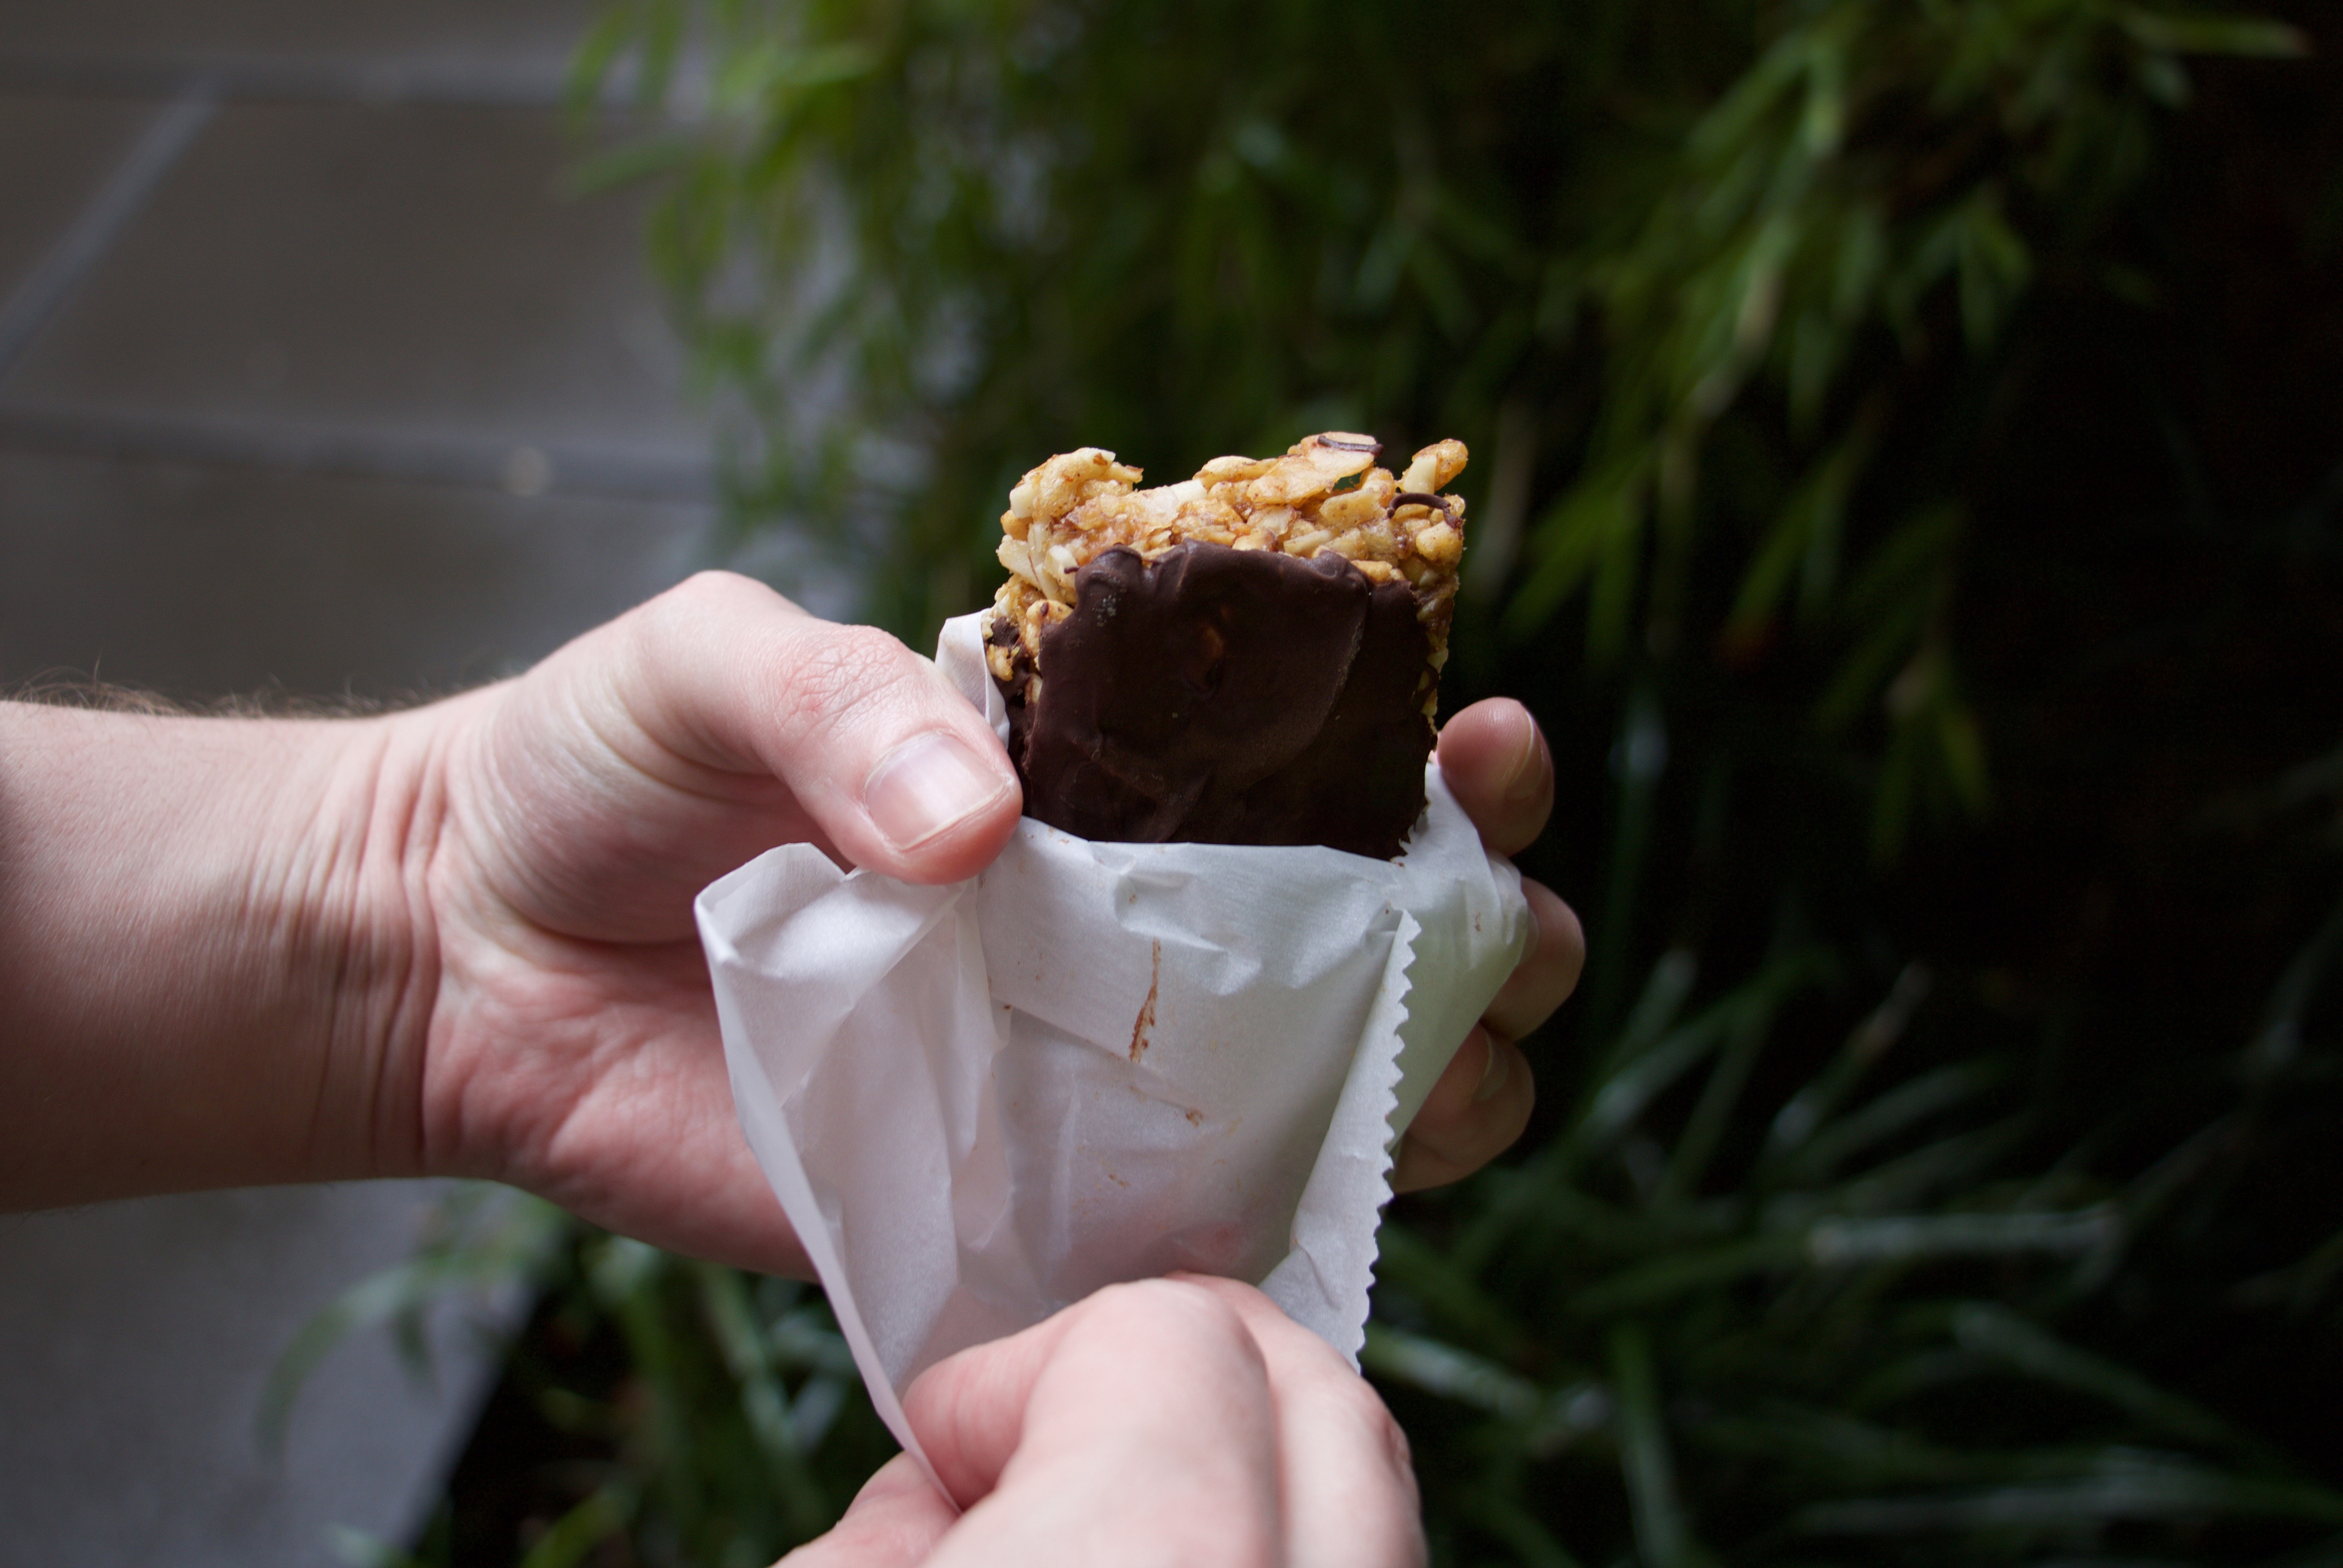
Chocolate Dipped Homemade Granola Bar
What’s one of the easiest grab-and-go snacks today? If you said the granola bar, you’re right. It’s simple—some oats, crispy rice, maybe some nuts and dried fruit. How can you go wrong? Well, if you’re buying your granola bars, then you are. If you’ve made rice crispy treats, you can make a granola bar. Here’s how you do it:
Butter or coconut oil
1 1/2 cups of brown rice cereal
1 cup of rolled oats, don’t use instant
1/2 cup of sliced almonds, cashew pieces or walnut pieces
Optional: 1/4 cup of dried fruit, like raisins, cherries or cranberries
1/4 cup of raw wheat germ
2 tablespoons of dried, untoasted and unsweetened coconut flakes
2 tablespoons of flax seed
1/2 cup of honey, brown rice syrup or agave
3 tablespoons of peanut butter (preferably unsalted)
1 tablespoon of packed brown sugar
1 teaspoon of vanilla extract
1/2 teaspoon of ground cinnamon
1/4 teaspoon plus 1/8 teaspoon of salt (unless you use salted peanut butter, then only use ⅛ teaspoon)
1 package of semi-sweet or bittersweet chocolate chips
8×8 baking pan
Baking sheet
2 medium-size sauce pans
Large, shallow, microwave-safe mixing bowl
- Preheat oven to 350 degrees F and oil the 8×8 baking pan excessively with coconut oil or butter and then set aside.
- On the baking sheet, spread the rice cereal, rolled oats, nuts, wheat germ, coconut flakes and flax seed in an even layer. Then bake the cereal mixture for 12 minutes, stirring the mixture halfway through. Take out of the oven and let cool.
- In a medium-size saucepan place the honey, peanut butter, brown sugar, salt, vanilla and cinnamon and cook over medium-low heat. Stir until the mixture combines and the sugar is dissolved.
- Pour the cereal mixture into the honey-peanut butter mixture and combine. At this time add your dried fruit. Transfer the concoction into the oiled 8×8 baking pan. Using a rubber spatula, press and spread the mixture evenly and firmly. Set aside to cool.
- Once cool, flip the pan over and tap the bottom so the granola square will release. If you’re having a problem with the granola releasing from the pan, use a paring knife and run it along the edge of the granola square to help facilitate the square releasing from the pan. Once out of the pan, split the block down the middle with a knife and then cut each half into four rectangular bars, giving you a total of eight granola bars.
- In a microwave-safe bowl, pour in half of the package of semi-sweet chocolate chips and microwave for a minute and a half, stir the chips and then microwave in 15-second intervals until completely melted.
- Dip the bottom of each granola bar into the melted chocolate and place chocolate-side-up on a cooling rack. After all of the bars have been dipped in the chocolate, place the bars in the fridge or freeze to set the chocolate. About 1 hour.
- Once the chocolate is set, wrap each bar in parchment paper and put in an airtight container. Consume within one week.