Avoid stressful holiday shopping by making your own fun and creative gifts for friends and family
’Tis the season to be jolly, and what creates a more festive and fun holiday spirit than inviting friends over for a little arts and crafts time? For those who are looking to create a more seasonal spirit around the house or simply searching for gift ideas, here are some projects to try.
share
Avoid stressful holiday shopping by making your own fun and creative gifts for friends and family
’Tis the season to be jolly, and what creates a more festive and fun holiday spirit than inviting friends over for a little arts and crafts time? For those who are looking to create a more seasonal spirit around the house or simply searching for gift ideas, here are some projects to try.
Saria Dy / Vanguard Staff
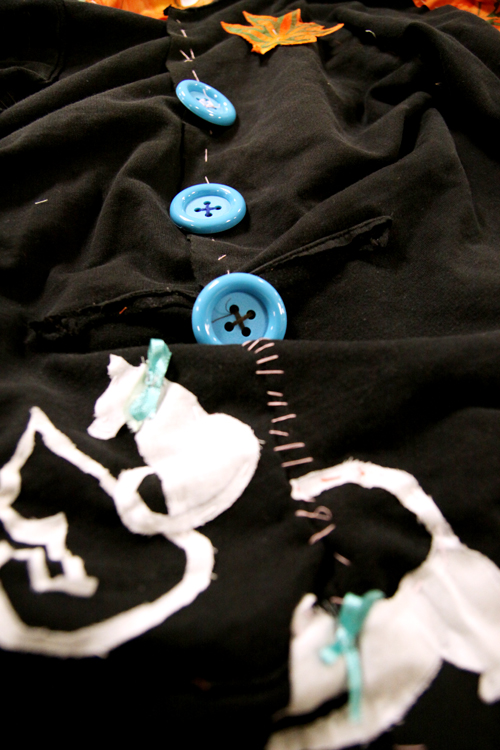
Snowman chair covers
This project is fun to create, and having a snowman chair is just plain cool and fairly inexpensive. As far as materials, you’ll a piece of some white felt large enough to fit over the back of your chair, and at least two pieces of black felt for the hat, eyes, mouth and buttons. Also, if there’s room, orange felt for the nose, and either some fleece scraps, ribbon or more colored felt for the scarf at the end.
To start, take the piece of white felt and drape it over the back of a chair and pin the sides down so that way it makes a snugger fit around the chair, cutting off all extra. Once the excess felt is gone, sew or glue the sides of the white felt together to make the base cover. Next, either print off the decorations template or hand draw the nose, eyes, hat and buttons. For the hat, it’s suggested that it gets made with front and back side, and glued around the edges, so that it can easily slip over a corner of the cover. From there, put together the face, add the hat and scarf then stand back and admire your new frosty friend who’s always willing to give you a hug when you sit on his lap.
Cookie cutter candles
One way to make this project is by using sheets of beeswax and simply cutting out the different shapes and adding the wick. Unfortunately, not every craft store will always be stocked with beeswax sheets, so an alternative method to this festive idea is to get a candle-making kit. Using a kit is slightly more complicated than cutting them out of wax sheets, but it’s nonetheless fun and requires at least two people. Some kits, such as the one used, require a double boiler for the process, but it depends on the brand you purchase.
So first, figure out what cookie cutters are to be used, how many candles can be made with the wax provided and what color (if the kit has dye included) the candles should be. Next, simply melt down the wax to 180 degrees and add the coloring and scent (this kit came with vanilla-scented wax).
While the wax is heating up, grab a towel or rag of some sort, fold it over once or twice and set it on the counter with some tin foil over it. After adding in the desired color and smell, set the wax off to the side for a bit to cool. Once it’s cooled to 135 degrees, have one person firmly press the cookie cutter into the tin foil and towel, while the other person carefully pours in the wax and sets the wick.
For the best results, and to avoid wax leaking from under the cookie cutter, place something heavy, such as a few cans of tuna on top of the setting candle. Let the candles cool for about four to six hours before tampering with or trying to burn. •
For other great projects, like holiday craft ideas including printed memo pads, holiday photo albums, hot cocoa mixes, cookies in jars and the traditional red-and-green paper wreath, visit familyfun.go.com.